2021-01-27

hexo博客安装live2d(gal主题)
博客组件/工具
- hexo
- github page (&& gitee page)
- hexo-theme-gal
引用项目
https://github.com/stevenjoezhang/live2d-widget
https://github.com/fghrsh/live2d_api
添加l2d看板娘
参考教程: https://blog.csdn.net/qq_39610915/article/details/90679768
live2d-widget是对hexo-next主题进行的配置, 但实际上并不死板, 很多博客主题都能用, 这里以hexo-theme-gal主题为例添加l2d.
1. 不做任何自定义调整
在头<head>中加入font-awesome, 而gal主题已经引用了该插件, 不需要在进行添加
1 | <link rel="stylesheet" href="https://cdn.jsdelivr.net/npm/font-awesome/css/font-awesome.min.css"> |
在<head>或者<body>中添加autoload.js
1 | <script src="https://cdn.jsdelivr.net/gh/stevenjoezhang/live2d-widget@latest/autoload.js"></script> |
即在gal主题中, 找到gal/layout/layout.ejs, 在<body>下添加上面一行, 或者在gal/_partial/head.ejs下添加
2. 能自定义配置l2d方式
在gal/layout/layout.ejs中,<body>标签添加如下一行:
1 | <script src="https://domain.blog.your/live2d/autoload.js"></script> |
前面的域名为博客的网址, 如果没有绑定域名, 那么为github用户名.github.io
当然使用cdn加速也是可以的, jsdelivr使用格式:
cdn.jsdelivr.net/gh/github用户名/仓库名/autoload.js地址
1 | cd YOURTHEMEDIR |
修改live2d/autoload.js
1 | const live2d_path = "/live2d/"; |
apiPath和cdnPath二选一即可
修改live2d/waifu.css live2d/waifu-tips.json可以一定程度的自定义看板娘
这样就基本完成了, 然后基本的hexo g, hexo d就行了
后续问题
点击换装没有反应
引用: https://github.com/stevenjoezhang/live2d-widget/issues/58
可能是jsdelivr对文件大小进行了设置, 可以考虑更换cdnPath或者apiPath,
apiPath可以换成
https://api.zsq.im/live2d (速度有点慢)
https://live2d.fghrsh.net/api/ (似乎是和https://cdn.jsdelivr.net/gh/fghrsh/live2d_api/ 一样的)
也可以自己搭一个后端api, 参照项目: https://github.com/fghrsh/live2d_api
当然, 如果能找到使用了这个项目的博客, 也可通过抓包白嫖别人的api
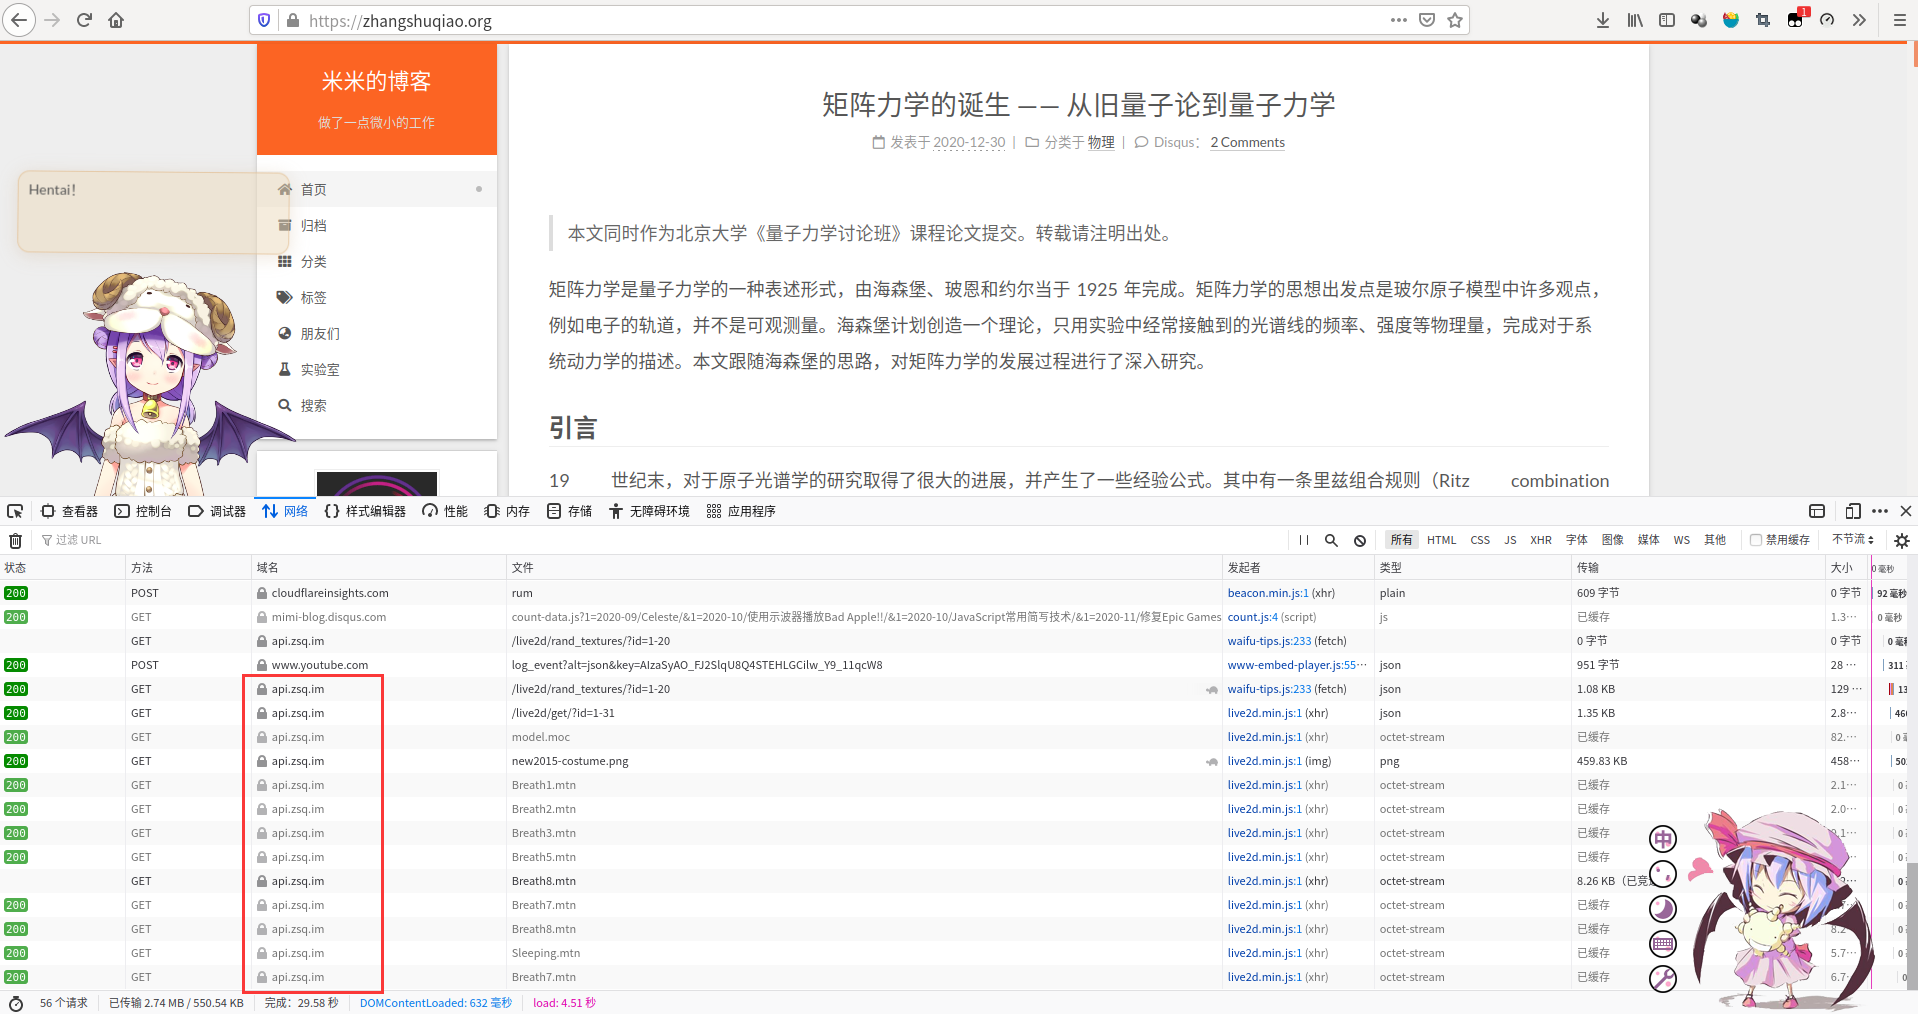
成果